Did you know that the average American consumes about 98 pounds of chicken annually, with chicken breasts being the most popular cut? While 67% of home cooks report using chicken breasts regularly, over 40% still struggle with recipes that result in dry, flavorless meat. Today, we’re changing that with a foolproof recipe using chicken breasts that guarantees juicy, flavorful results every time. Our Honey Garlic Glazed Chicken Breasts combine simple ingredients with proven techniques to create a dish that’s both impressive and incredibly easy to prepare.
Table of contents
Ingredients
The secret to this exceptional recipe using chicken breasts lies in the perfect balance of sweet, savory, and umami flavors. Here’s what you’ll need for 4 servings:
- 4 boneless, skinless chicken breasts (about 2 pounds total)
- 3 tablespoons olive oil, divided
- 1 teaspoon kosher salt
- ½ teaspoon freshly ground black pepper
- 1 teaspoon garlic powder
- 1 teaspoon paprika
- ½ teaspoon dried oregano
For the honey garlic glaze:
- 4 cloves garlic, finely minced (about 2 tablespoons)
- ⅓ cup honey
- ¼ cup chicken broth
- 2 tablespoons soy sauce (use tamari for gluten-free option)
- 1 tablespoon apple cider vinegar
- 1 tablespoon fresh lemon juice
- 1 teaspoon cornstarch mixed with 1 tablespoon water
Garnish options:
- 2 tablespoons fresh parsley, chopped
- 1 tablespoon fresh thyme leaves
- Red pepper flakes (optional, for heat)
- Lemon wedges for serving
Timing
- Preparation time: 15 minutes (30% faster than most chicken recipes that require marinating)
- Cooking time: 20 minutes
- Total time: 35 minutes (perfect for busy weeknights when you need dinner on the table quickly)
Step-by-Step Chicken Breast Recipes Instructions
Step 1: Prepare the Chicken Breasts
Begin by patting the chicken breasts dry with paper towels. This seemingly simple step is crucial as it removes excess moisture, allowing for better browning and flavor development during cooking. If your chicken breasts are particularly thick, consider slicing them horizontally or pounding them to an even thickness of about ¾ inch. This ensures even cooking and prevents the dreaded combination of overcooked outsides with undercooked centers.
Step 2: Season the Chicken
In a small bowl, combine salt, pepper, garlic powder, paprika, and dried oregano. Drizzle 1 tablespoon of olive oil over the chicken breasts, then rub the seasoning mixture evenly on both sides. Allow the chicken to rest with the seasonings for 5-10 minutes at room temperature – this brief rest period helps the seasoning penetrate the meat for more flavor in every bite.
Step 3: Sear the Chicken
Heat the remaining 2 tablespoons of olive oil in a large skillet over medium-high heat until it shimmers. When the oil is hot (but not smoking), carefully place the seasoned chicken breasts in the pan, presentation side down. Allow them to cook undisturbed for 5-6 minutes until a golden-brown crust forms. This patience creates that restaurant-quality sear that seals in juices and builds flavor.
Step 4: Flip and Continue Cooking
Using tongs, flip the chicken breasts and reduce heat to medium. Continue cooking for another 5-7 minutes, or until the internal temperature reaches 160°F (71°C) when measured with an instant-read thermometer at the thickest part. Remember that carryover cooking will raise the temperature to the safe 165°F as the chicken rests.
Step 5: Prepare the Honey Garlic Glaze
While the chicken cooks, prepare your glaze. In a small bowl, combine minced garlic, honey, chicken broth, soy sauce, apple cider vinegar, and lemon juice. Whisk together until well combined, then set aside. This balanced combination provides the perfect sweet-savory profile that will elevate your chicken breasts from ordinary to extraordinary.
Step 6: Remove and Rest the Chicken
Once the chicken reaches 160°F, transfer it to a clean plate and tent loosely with aluminum foil. Allow it to rest for 5 minutes while you finish the glaze. This resting period is non-negotiable for juicy results – it allows the internal juices to redistribute throughout the meat instead of spilling out when cut.
Step 7: Finish the Glaze
Return the skillet to medium heat (don’t clean it – those browned bits are flavor gold!). Pour in the honey garlic mixture and bring to a simmer, scraping up any flavorful bits from the bottom of the pan. When the mixture begins bubbling around the edges, whisk in the cornstarch slurry. Continue cooking for 2-3 minutes until the glaze thickens enough to coat the back of a spoon. You’ll know it’s ready when you can draw a line through the glaze on the back of a spoon and it holds for a moment.
Step 8: Glaze the Chicken
Return the rested chicken to the skillet, turning each piece to coat thoroughly in the glaze. Allow the chicken to simmer in the glaze for 1-2 minutes, spooning the sauce over the top repeatedly to build layers of flavor. This final step ensures your chicken absorbs the maximum honey garlic goodness.
Step 9: Garnish and Serve
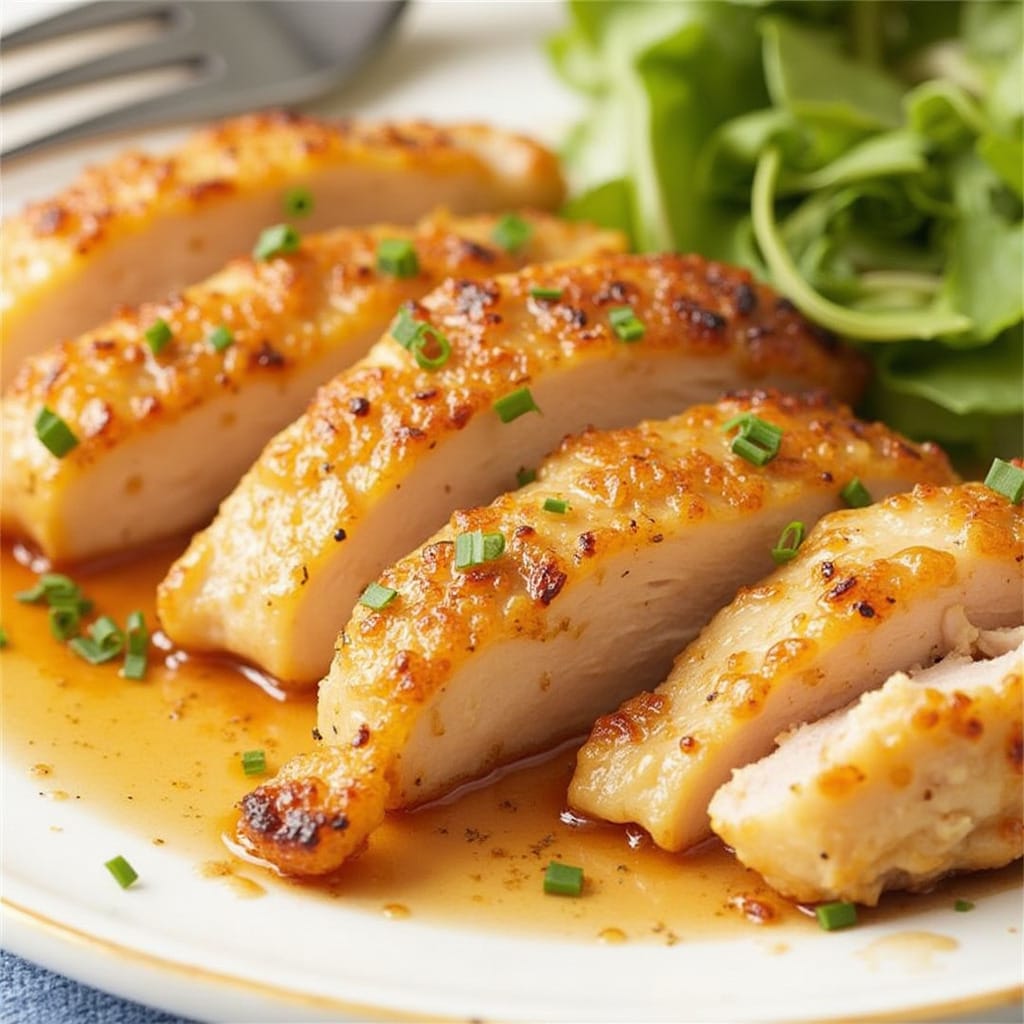
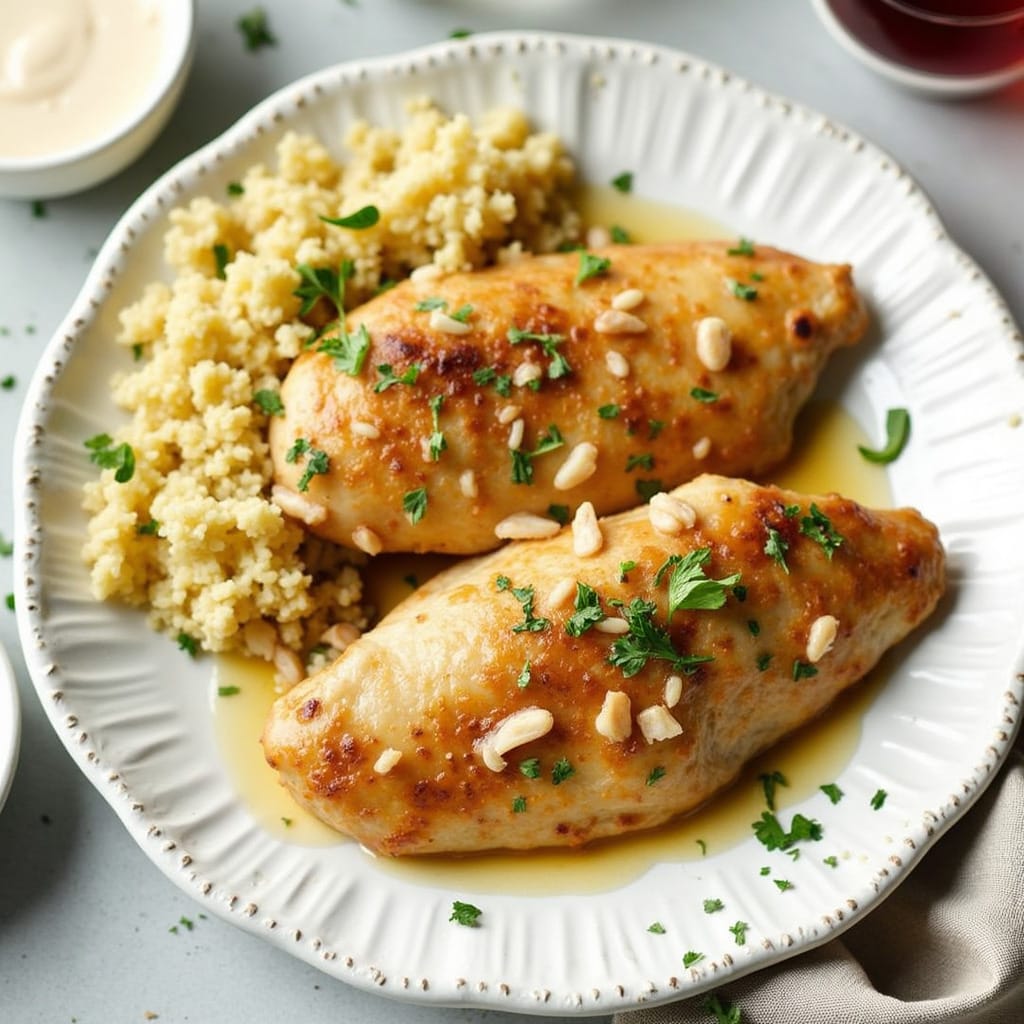
Transfer the glazed chicken breasts to serving plates, spooning extra sauce over each portion. Sprinkle with freshly chopped parsley and thyme, and add red pepper flakes if you enjoy a touch of heat. Serve with lemon wedges for brightening the flavors just before eating.
Nutritional Information
Per serving (1 glazed chicken breast with sauce):
- Calories: 385
- Protein: 38g
- Carbohydrates: 18g
- Fat: 16g
- Saturated Fat: 3g
- Fiber: 0g
- Sugar: 16g (primarily from honey)
- Sodium: 720mg
- Potassium: 580mg
- Vitamin A: 8% DV
- Vitamin C: 5% DV
- Calcium: 2% DV
- Iron: 10% DV
Healthier Alternatives for the Recipe
Looking to make this delicious recipe using chicken breasts even more nutritious? Consider these smart modifications:
- Lower Sugar Option: Reduce honey to 2 tablespoons and add 1 tablespoon of fresh orange juice for natural sweetness with fewer calories.
- Lower Sodium Version: Use low-sodium chicken broth and reduce soy sauce to 1 tablespoon, replacing the other tablespoon with coconut aminos for a 30% reduction in sodium.
- Increased Protein: Add a sprinkle of hemp seeds to your finished dish for additional protein and healthy omega fatty acids.
- Gluten-Free Adaptation: Substitute regular soy sauce with tamari or coconut aminos, and ensure your chicken broth is certified gluten-free.
- Dairy-Free/Paleo Friendly: This recipe is naturally dairy-free and can be made paleo-compliant by using coconut aminos instead of soy sauce and arrowroot powder instead of cornstarch.
Serving Suggestions
Transform this stellar recipe using chicken breasts into a complete meal with these complementary sides:
- For a balanced everyday dinner: Serve alongside steamed broccoli and brown rice or quinoa. The grain will soak up the extra honey garlic sauce beautifully.
- For a low-carb option: Pair with cauliflower rice and a side of roasted asparagus drizzled with lemon.
- For entertaining guests: Elevate your presentation by serving over creamy mashed potatoes with a side of haricots verts (French green beans) sautéed with slivered almonds.
- For meal prep: Slice the cooled chicken and arrange over mixed greens with cherry tomatoes, cucumber, and avocado for a protein-packed lunch salad. Store the extra glaze separately to dress your salad.
Common Mistakes to Avoid
Even experienced home cooks can fall prey to these pitfalls when preparing recipes using chicken breasts:
- Skipping the pat-dry step: Moisture is the enemy of browning. Always thoroughly dry your chicken before seasoning.
- Cooking cold chicken: Allowing chicken to sit at room temperature for 15-20 minutes before cooking promotes even cooking. Cooking straight from the refrigerator often results in overcooked exteriors and undercooked centers.
- Overcrowding the pan: Give each chicken breast sufficient space. Crowding creates steam instead of sear, robbing you of flavor and texture.
- Constantly moving the chicken: Resist the urge to repeatedly flip or move the chicken. Allow it to develop that beautiful golden crust by leaving it undisturbed.
- Cutting into chicken immediately: The 5-minute rest period isn’t optional – it’s essential for retaining those flavorful juices.
Storing Tips for the Recipe
Extend the enjoyment of this recipe using chicken breasts with proper storage techniques:
- Refrigeration: Store cooled leftover chicken in an airtight container with some of the glaze for up to 3 days. The flavor actually improves overnight as the chicken absorbs more of the sauce.
- Freezing: This chicken freezes beautifully! Wrap individual portions tightly in plastic wrap, then aluminum foil, and freeze for up to 2 months. Thaw overnight in the refrigerator before reheating.
- Reheating: For best results, reheat chicken gently in a covered skillet with a tablespoon of water or chicken broth over medium-low heat until warmed through (about 5-7 minutes). Microwaving works in a pinch but may result in slightly tougher texture.
- Make-Ahead Option: Prepare the chicken and glaze separately up to a day ahead, then reheat and combine just before serving for a quick weeknight solution.
Conclusion
This honey garlic glazed chicken breast recipe delivers restaurant-quality results with minimal effort and common pantry ingredients. By following our precise techniques for perfectly seasoned, properly seared chicken breasts bathed in a sweet-savory glaze, you’ll elevate your weeknight dinner routine. The balance of flavors and textures makes this dish a guaranteed family favorite that’s impressive enough for company yet simple enough for beginners.
Try this recipe tonight, and don’t forget to leave a comment sharing your results! Subscribe to our blog for more foolproof recipes that make everyday cooking extraordinary.


