Table of contents
Discover the delightful world of easy filo pastry with our collection of simple recipes. Whether you’re craving something sweet or savory, these phyllo pastry recipes will impress your family and friends. Imagine crispy phyllo dough wrapped around delicious fillings, like warm apple turnovers or a hearty phyllo meat pie.
Don’t worry if you’ve never worked with phyllo sheets before. We’ll guide you through the process, ensuring your creations turn out flaky and golden every time. You can even find gluten-free phyllo dough options to cater to everyone’s needs. Get ready to roll out the fun in the kitchen with these tasty treats that are sure to please!
Key Takeaways
- Gather ingredients like all-purpose flour, olive oil, and warm water for filo pastry.
- Thaw phyllo dough properly and cover unused sheets to prevent tearing.
- Use gluten-free phyllo dough by substituting with gluten-free flour and xanthan gum.
- Bake apple turnovers with a filling of apples, sugar, and spices for a sweet treat.
- For a savory option, try phyllo meat pie filled with seasoned meat and onions.
Ingredients for Basic Filo Pastry

To create a delightful easy filo pastry, gather the following essentials. Use all-purpose flour as the base, ensuring it has a high gluten content for excellent elasticity. Combine it with warm water and a splash of olive oil. A pinch of salt enhances the flavor, while adding a dash of white wine vinegar can improve the dough’s stretchiness.
For precise results, weigh your ingredients. This helps maintain consistency across batches. When measuring, equal portions are key for uniformity.
Here’s a handy table to summarize the ingredients for your basic pastry:
| Ingredient | Quantity | Purpose |
|---|---|---|
| All-purpose flour | 2 cups | Base of the pastry |
| Warm water | 1 cup | Hydrates the flour |
| Olive oil | 2 tablespoons | Adds richness and flavor |
| Salt | 1/2 teaspoon | Enhances taste |
| White wine vinegar | 1 teaspoon | Improves dough elasticity |
Follow these steps for the dough:
- Combine flour and salt in a bowl.
- Mix in water and oil until a dough forms.
- Knead until smooth; rest for one hour.
- Divide into equal pieces for rolling.
- Roll out each piece as thin as possible.
For more tips on using pastry sheets, resources like the Fillo Factory offer useful insights.
Tips for Handling Filo Dough
Handling filo dough requires a bit of finesse, but with these tips, you’ll master it in no time.
- Thaw your filo pastry slowly in the fridge. This prevents tearing when you handle it.
- Keep unused sheets covered with a dry towel to stop them from drying out. Damp towels can lead to sticky sheets, making it difficult to separate.
- Use a generous amount of flour on your workspace while rolling out the dough. This keeps it from sticking and ensures an even thickness. Roll from the center outward for best results.
- If you’re working with gluten-free filo dough, add xanthan gum for elasticity. This helps replicate the stretchiness of traditional dough.
- Roll the dough as thin as possible. Thinner sheets result in a flakier texture once baked.
- When stacking your filo sheets, place a light dusting of flour or cornstarch between them. This avoids sticking and simplifies handling later.
- Store any prepared sheets in an airtight container, layering parchment paper between them.
- For a quick treat, try easy apple turnovers using pre-made sheets. They will bake to perfection with a delightful golden finish.
For more on using pastry sheets, resources like My Greek Dish offer useful insights.
Quick Steps to Prepare Filo Sheets
Kneading the dough is a key step before making easy filo pastry. Begin by mixing all-purpose flour, warm water, olive oil, and a pinch of salt. Knead until smooth, then let it rest for about an hour.
- Divide the dough into equal portions.
- Roll out each piece until thin, using a light touch to avoid tears.
- Stack rolled sheets with cornstarch in between to prevent sticking.
- For gluten-free options, use gluten-free flour and xanthan gum to maintain elasticity.
- Layer sheets with flour and stack them neatly.
Use a thin rolling pin for consistent thickness. After rolling, store sheets between parchment paper and plastic wrap. Refrigerate for short-term use or freeze for longer storage.
For a savory delight, consider making a phyllo meat pie. Brush each layer with olive oil for extra crispiness. Layer your seasoned meat filling between the sheets for a delicious treat.
When preparing spring rolls, remember to keep the filling dry. Brush the sheets with an oil-water mix to ensure they bake up crispy.
Using these steps simplifies creating phyllo pastry sheets. Whether for sweet or savory dishes, handling the dough with care yields the best results. Enjoy your cooking adventure!
Rolling and Storing Techniques
To achieve the best results when dealing with easy filo pastry, focus on effective rolling and storage strategies. Start by rolling your dough with a thin rolling pin for a consistent thickness. Aim for a delicate touch to avoid tearing the sheets.
After rolling, carefully layer the sheets with a light dusting of flour. Stack them neatly to prevent sticking. When storing, place the rolled sheets between parchment paper for separation. Wrap them in plastic wrap to maintain moisture and prevent drying out.
For longer-term storage, consider freezing your filo sheets. Place parchment between each layer and ensure they’re sealed tightly. This method prevents freezer burn and keeps the sheets fresh for future use.
Here are some handy tips to keep in mind:
- Use a clean, dry surface when rolling out.
- Keep unused sheets covered to avoid drying.
- Use cold ingredients for better elasticity.
- If making a gluten-free phyllo dough, store it in a separate container.
- Always thaw frozen sheets in the refrigerator, not at room temperature.
For those looking to explore more about phyllo pastry options, fillofactory.com offers a variety of insights and products to enhance your baking experience.
Sweet Filo Treat: Apple Turnovers

When crafting delightful easy filo pastry creations, apple-filled treats shine brightly. These delectable desserts are quick to prepare, making them perfect for any occasion. Using pre-made phyllo dough simplifies the process, allowing you to focus on the luscious filling.
- Choose the Right Apples: Combine tart and sweet varieties. Granny Smith and McIntosh create a perfect balance.
- Spice It Up: Add cinnamon and a hint of cardamom for depth. Lemon zest enhances the flavor beautifully.
- Cook the Filling: Sauté apples until slightly caramelized. This step brings out their natural sweetness.
- Layering Technique: Take a sheet of phyllo dough, brush lightly with melted butter or oil, and add a spoonful of filling. Fold into triangles securely.
- Bake to Perfection: Preheat your oven and bake until golden brown. This usually takes about 20-25 minutes.
These steps ensure a flaky, crispy exterior with a warm, inviting filling. Whether you’re serving them at a gathering or enjoying them solo, these apple-filled pastries will impress.
For those seeking a gluten-free phyllo dough, similar techniques can be applied, just ensure to handle the dough gently to prevent tearing.
These easy apple turnovers serve as a sweet reminder that baking can be both effortless and rewarding.
Creating the Perfect Apple Filling
To achieve a delightful apple filling, begin with a balance of sweet and tart apples. A combination of Granny Smith and McIntosh works wonders. Peel and core them before chopping into even-sized pieces.
Next, sprinkle in spices for extra flavor. A blend of cinnamon and a hint of cardamom adds depth and warmth. Cooking the apples gently in a pan helps to release their natural sugars. Aim for a light caramelization to enhance the sweetness.
Follow this with a splash of lemon juice to brighten the flavors. This step prevents the apples from browining and adds a refreshing tang.
For added texture, consider mixing in some raisins or chopped nuts. They provide a lovely contrast to the soft apples. Sweetness can be adjusted based on preference. A few tablespoons of brown sugar or maple syrup will do the trick.
Lastly, allow the filling to cool before using it in your easy filo pastry dish. It will help maintain the crispness of the pastry.
Here’s a quick checklist for your apple filling:
- Select a mix of tart and sweet apples.
- Chop apples into even pieces.
- Add spices like cinnamon and cardamom.
- Cook apples until slightly caramelized.
- Adjust sweetness with brown sugar or syrup.
- Incorporate raisins or nuts for texture.
- Cool the filling before adding to pastry sheets.
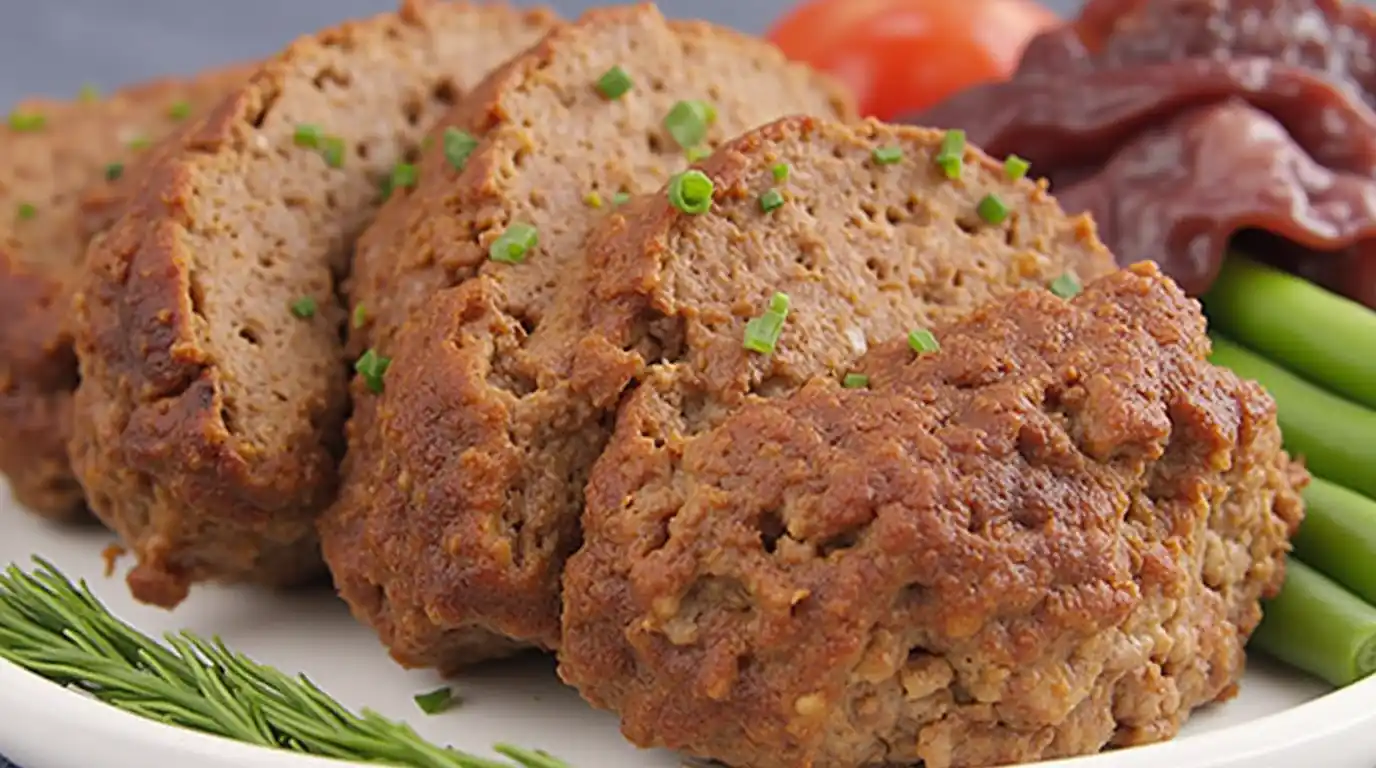
Savory Delight: Phyllo Meat Pie
Delighting in phyllo meat pies brings together the flaky layers of easy filo pastry and a savory filling that’s hard to resist. To achieve a perfect meat pie, start by preparing the filling.
- Use ground beef or lamb as the main ingredient.
- Chop onions finely and sauté until golden brown.
- Add garlic powder and spices like cumin, paprika, and black pepper for depth.
- Layer the meat mixture between sheets of phyllo pastry sheets.
- Brush each layer with olive oil to enhance crispiness.
When assembling, ensure even distribution of the filling. This not just adds flavor but also keeps the pie from becoming soggy. Bake until the top is golden brown and the aroma fills your kitchen.
If you’re looking for a gluten-free option, consider making gluten-free phyllo dough using a blend of gluten-free flour and xanthan gum.
Don’t forget to check the texture of your filling. It should be slightly moist but not wet. This balance ensures your meat pie maintains its flaky texture.
For a twist, try swapping traditional fillings with vegetables or cheeses. These variations keep the dish vibrant and exciting while still being easy to prepare.
Enjoy the beautiful layers of your phyllo meat pie. It’s a crowd-pleaser for any occasion!
Essential Ingredients for Meat Pie
For a delicious meat pie, the right ingredients make all the difference. Start with ground beef for a rich flavor. Adding onions gives a sweet, aromatic base. Don’t forget to incorporate garlic powder for that extra kick. A mix of spices like paprika, cumin, and black pepper elevates the taste profile.
Layering is crucial. Use easy filo pastry sheets, brushing each layer with olive oil or melted butter. This ensures a flaky, golden crust. For a heartier filling, consider mixing in vegetables like carrots or peas.
When preparing your filling, aim for a slightly moist texture. This keeps the pie flavorful without making it soggy. If you’re looking for a gluten-free option, use gluten-free phyllo dough.
Here’s a quick reference table for essential ingredients:

| Ingredient | Purpose | Notes |
|---|---|---|
| Ground Beef | Main flavor | Choose lean cuts |
| Onions | Sweetness | Sauté before mixing |
| Garlic Powder | Flavor enhancement | Adjust to taste |
| Spices | Flavor depth | Mix to your preference |
| Easy Filo Pastry | Crust | Brush each layer |
When making your pie, follow these steps:
- Sauté onions until golden.
- Mix in the ground beef until browned.
- Add garlic and spices, cooking for a few minutes.
- Layer filo sheets in a baking dish.
- Fill with the meat mixture and top with more pastry.
- Brush with oil and bake until golden.
For a look at gluten-free options, Mamaknowsglutenfree offers some great insights.
Baked Vegetable Spring Rolls Recipe
Baked spring rolls with a delightful vegetable filling wrapped in easy filo pastry are a treat. Here’s how to prepare them.
- Gather your ingredients: You’ll need filo sheets, mixed vegetables like carrots, bell peppers, and cabbage, along with spices for flavor.
- Prepare the filling: Sauté your vegetables until just tender. Season with salt, pepper, and your choice of herbs for added taste. Allow the mixture to cool to avoid sogginess.
- Assemble the rolls: Lay out a filo sheet on a clean surface. Brush with a mix of oil and water. Place a spoonful of filling at one end and fold the sides over before rolling tightly.
- Brush and bake: Place the rolls seam side-down on a baking sheet lined with parchment paper. Brush the tops with the oil-water mixture for an enticing golden color.
- Bake: Preheat your oven to 400°F (200°C) and bake for about 15-20 minutes. Keep an eye on them until they are crispy and golden brown.
- Cool and serve: Let your baked vegetable spring rolls cool slightly before serving. They pair well with a tangy dipping sauce.
- Storage: If you have leftovers, store them in an airtight container in the fridge. Reheat in the oven for the best texture.
Enjoy your delicious spring rolls!
Tips for Baking Perfect Spring Rolls
Baked spring rolls require attention to detail for the best results. Here are some handy hints to create perfect spring rolls using easy filo pastry.
- Keep the filling dry: Moisture is the enemy. A wet filling can make the pastry soggy. Sauté vegetables to remove excess moisture before filling.
- Brush with oil: A light brush of oil or a mixture of water and oil on the filo sheets helps achieve that golden, crispy finish. Don’t skip this step!
- Layer wisely: Use at least two or three sheets of filo for each roll. This adds structure and helps prevent tearing during the rolling process.
- Fold carefully: When assembling, fold the sides in before rolling. This technique keeps the filling tightly sealed and prevents leakage during baking.
- Preheat the oven: Always preheat your oven to ensure immediate crisping of the pastry once it goes in. Aim for a temperature around 400°F (200°C).
- Watch the baking time: Bake until golden brown, usually 20-25 minutes. Keep an eye on them, as ovens vary.
- Serve immediately: Spring rolls taste best fresh out of the oven. Pair them with your favorite dipping sauce for a delightful treat. Enjoy!
Exploring Gluten-Free Filo Options
Creating gluten-free options for easy filo pastry can be a rewarding endeavor. Using gluten-free flour and a bit of xanthan gum helps achieve the desired texture.
Here are some key tips to keep in mind:
- Flour Selection: Choose a blend of gluten-free flours for the best results. Almond and rice flour can create a nice balance.
- Xanthan Gum: This ingredient mimics gluten’s elasticity, making it easier to roll out the dough without tearing.
- Roll Thinly: When preparing gluten-free phyllo dough, roll it out as thinly as possible. This prevents a dense texture in your final dish.
- Layering: Use cornstarch between layers to keep them from sticking together. This is crucial for maintaining texture in baked goods.
- Resting Time: Allow the dough to rest for about 30 minutes before rolling. This helps the flour hydrate fully.
- Storage: Store your gluten-free phyllo sheets in airtight containers with parchment paper in between. Refrigerate for short-term use or freeze for extended storage.
- Baked Dishes: Experiment with sweet and savory fillings. Think about options like phyllo meat pie or easy apple turnovers to make the most of your gluten-free pastry.
- Preventing Tears: Handle the dough gently to avoid tearing. A light touch goes a long way!
These tips can guide you in your journey to creating delicious gluten-free treats.
How to Store Filo Pastry Sheets
Storing phyllo pastry sheets properly keeps them fresh for your baking needs. Begin by layering the sheets with parchment paper. This prevents sticking and allows for easy separation later. Place the layered sheets in an airtight container, ensuring no air can reach them.
For short-term storage, refrigerate the container. If you plan to keep them longer, freezing is your best bet. Wrap the container tightly in plastic wrap or use a freezer-safe bag. This way, you can pull out as many sheets as you need without thawing the entire batch.
When using easy filo pastry, always ensure it’s completely thawed before you start working with it. This reduces the risk of tearing. If you find yourself with leftover sheets, think about making easy apple turnovers or an Egyptian goulash to use them up.
Here’s a quick reference table for storing easy filo pastry:
| Storage Method | Duration | Tips |
|---|---|---|
| Refrigerate | 3-5 days | Use parchment between layers. |
| Freeze | Up to 2 months | Seal tightly to avoid freezer burn. |
| Thawing | 1 hour | Leave in the fridge overnight, if possible. |
| Room Temperature | 2 hours | Keep covered to avoid drying out. |
| Unused Sheets | Same Day Only | Use immediately to prevent drying. |
- Layer with parchment.
- Store in an airtight container.
- Refrigerate for short-term.
- Freeze for long-lasting storage.
- Thaw fully before use.
Conclusion
Filo pastry offers endless possibilities for both sweet and savory dishes. With a few simple recipes, you can impress your family and friends. From delightful apple turnovers to hearty meat pies, the versatility of filo will keep your culinary creativity alive.
Handling and storing filo sheets is straightforward once you know the basics. Remember to keep sheets covered and use a dry towel to maintain moisture. With the right ingredients and techniques, you can create delicious meals that are sure to please. Enjoy the journey of making your own filo pastry creations!
FAQ
- What ingredients do I need for basic filo pastry?
You’ll need all-purpose flour, warm water, olive oil, and a pinch of salt. For extra stretch, consider adding white wine vinegar. - How do I prevent filo dough from tearing?
Thaw filo dough properly and cover unused sheets with a dry towel. Use plenty of flour when rolling out, and roll from the center outward for even thickness. - What is the best way to store filo pastry sheets?
Store sheets in airtight containers with parchment layers in between. Refrigerate for short-term use or freeze them for longer storage. - How do I make a sweet filling for apple turnovers?
Use a mix of tart and sweet apples like Granny Smith and McIntosh. Add spices like cinnamon and cardamom, and cook until the apples caramelize slightly. - Can I make gluten-free filo pastry?
Yes, use gluten-free flour and xanthan gum for elasticity. Roll the dough thinly and handle it gently to avoid tearing.


